
Installing the CPU and cooling system is probably the most fiddly bit of building your own PC. The most important thing is that you do not bend any of the pins whilst installing the chip and that you get a good solid contact with the heat sink.
With a little case you should not have any problems.
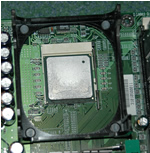
Firstly firmly press the CPU chip onto the motherboard. The picture below shows the chip in place on the motherboard
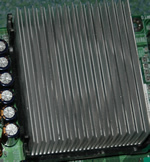
Once you have done this you must then place the heat sink onto the chip and frame. Make sure that the compound which helps bond the two together is clean and will make the best contact possible. The picture below shows the heat sink in place.
The final stage is to install the heat sink fan and connect the power. The picture below shows the final assembly with the heat sink fan in place.
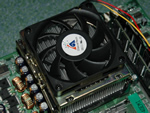 Note that the clamps have also been fitted to hold the fan and heat sink secure.
|
|
|
|
|
|
|
|
|
|
|
|
|